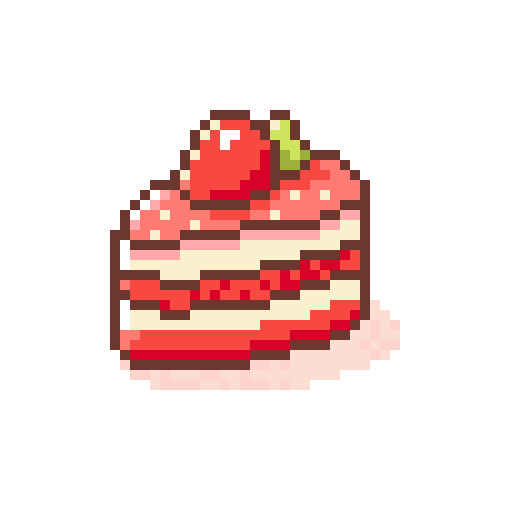
Sort your beads
Check the bead list and sort the colors into small trays. Keep the colors you’ll use most within easy reach.
Take a closer look, then download the pattern with color codes and a bead list.

All the fun of an ice cream cone, with no need to worry about it melting.
Sort your beads, keep the pattern handy, and start with the outline. Fill in the larger areas before adding the finishing touches.
Check the bead list and sort the colors into small trays. Keep the colors you’ll use most within easy reach.
Set your pegboard on a flat surface. Use the top-left corner of the pattern as your starting point.
Lay out the outer edge and the main shapes first. They’ll help you keep the rest of the design lined up.
Fill each color area a row at a time. Pause every few rows to check your work against the pattern.
Save small details, such as eyes and highlights, for last. They’re easier to check once the main shapes are in place.
Compare your beads with the pattern, row by row. Check the edges and look for any beads that are one space out of place.
Cover the beads with suitable ironing paper, then follow your bead brand’s temperature and ironing instructions. Never put the iron directly on the beads. Children should have an adult handle the ironing.
Follow your bead brand’s cooling instructions before removing the piece from the pegboard. Once it’s cool, check that the beads are fused securely before adding a keyring or putting it on display.
Keep the printable pattern and bead list nearby as you work. Colors on screen are a guide and may differ from your beads.
Your notes are private and only available in this browser.
Add a note for next time.